My 1979 Camaro Z28 Project!

  • Thread starter Blu-By-U 79Z
  • Start date
  • This site may earn a commission from merchant affiliate links like Ebay, Amazon, and others.

Blu-By-U 79Z

Veteran Member
Lifetime Gold Member
Feb 11, 2009
5,742
Kentucky
So tonight was a short night that had some disappointments. I ran out of my evercoat. Half of the caulk tube is just the plunger. Its like a bag of chips when half of the bag is air. $32 for 8.45 ounces.

The stuff seems to work pretty good but its not as easy as the video shows. Ive done 4-5 coats on a place trying to level it up and get it smooth and feather edges while in their videos it takes only 2.

As you sand with 80 to remove damage you shape edges very easily... On some of the smooth curves you can see were the DA went along the edge and there is just a slight defined line in the curve from where it was altered. granted its not a huge deal as a light coat of this stuff would get it out but it just seems like there are so many curves and angles that you half way fix one thing and mess up another...

Tonight Im just frustrated with it. I really want to get this thing painted this year, it just seems like its been fighting me along the way. Granted there are no more rips and holes in the bumper. Alot of the scuff marks have been removed etc, but it just seems like you work on the area and you damage another trying to work a spot right next to an edge. Lord knows these bumper covers are expensive aftermarket and you dont find many good used one. Which makes it worse when you realize you slightly altered the edge and have to figure out a way to smooth it back out because good replacements are few and far between. Sorry for my whining lol -Matt
 

jjkirschen

Member
Jul 14, 2011
41
Kalamazoo, MI
I feel you pain Matt. You'll get it worked out just take your time.
On my first 79 I was in such a rush I used a belt sander to remove the paint on the nose. BIG MISTAKE. Reshaped so much of the nose there was no repair and had to buy a new one.
oops.
 

Blu-By-U 79Z

Veteran Member
Lifetime Gold Member
Feb 11, 2009
5,742
Kentucky
Well not that I needed something else to frustrate me but as I organize the garage before I take my vacation, I glanced under the car with a flash light to make sure nothing was leaking and sadly I found surface rust coming through the por15 on my frame rails and floor pan.... Seriously?? I followed the directions to a T and still the poo breaks down. What a joke!!! I will NEVER use a POR15 product again. I guess once the out side is done one of my winter projects will be redoing the floor pans. After vacation I will take care of the surface rust and later on I will deal with it. A good time might be when I drop a posi unit and rear disc swap in my rear end!! :bowtie: Always some light at the end of the tunnel.
 
This site may earn a commission from merchant affiliate links like Ebay, Amazon, and others.

Hey G

Veteran Member
Mar 18, 2012
519
SC
I know your frustration, but its probably not por 15's fault...it's rust's fault.

Down here in Charleston, I can get something sandblasted and by the time I pick it up, drive home, get ready to paint it...the thing has started to rust. You can't stop the rust...just get that car out and drive the wheels off of it.

Wheels look great by the way and nice work on the urethane repairs too.


G
 

Blu-By-U 79Z

Veteran Member
Lifetime Gold Member
Feb 11, 2009
5,742
Kentucky
Thanks man,

Well POR15 doesnt have the best rep and I followed all of the steps to apply it. So there is no reason it should have failed. The car spends all its life inside and is not driven at all, let alone in the rain. That would almost be like painting your car with name brand base / clear and then 3 years down the road having surface rust coming through your slick paint job.

However its not to big a deal. It sucks to have to redo something but it happens. Im going to deal with the rust and then get back on to the body. Ill save the bottom for winter time lol
 

Blu-By-U 79Z

Veteran Member
Lifetime Gold Member
Feb 11, 2009
5,742
Kentucky
So ive been working on the car in the afternoons here and there. Funds were set back due to my dog needing a vet trip. I have been working on the rear center spoiler, front nose and the flare. I had intentions to epoxy some of the parts but looks like the entire weekend is rain....

I did strip my stock hood the other day to see what was causing my warp in the hood. As i thought bad hinges strikes again. So I have put ads up trying to find another stock Z hood. However if i dont find one in a timely manor I might be going cowl hood again. The structure of my stock hood has buckles in it and 3 buckles on the top skin.

So far thats about it but its still a set forward.
 

Blu-By-U 79Z

Veteran Member
Lifetime Gold Member
Feb 11, 2009
5,742
Kentucky
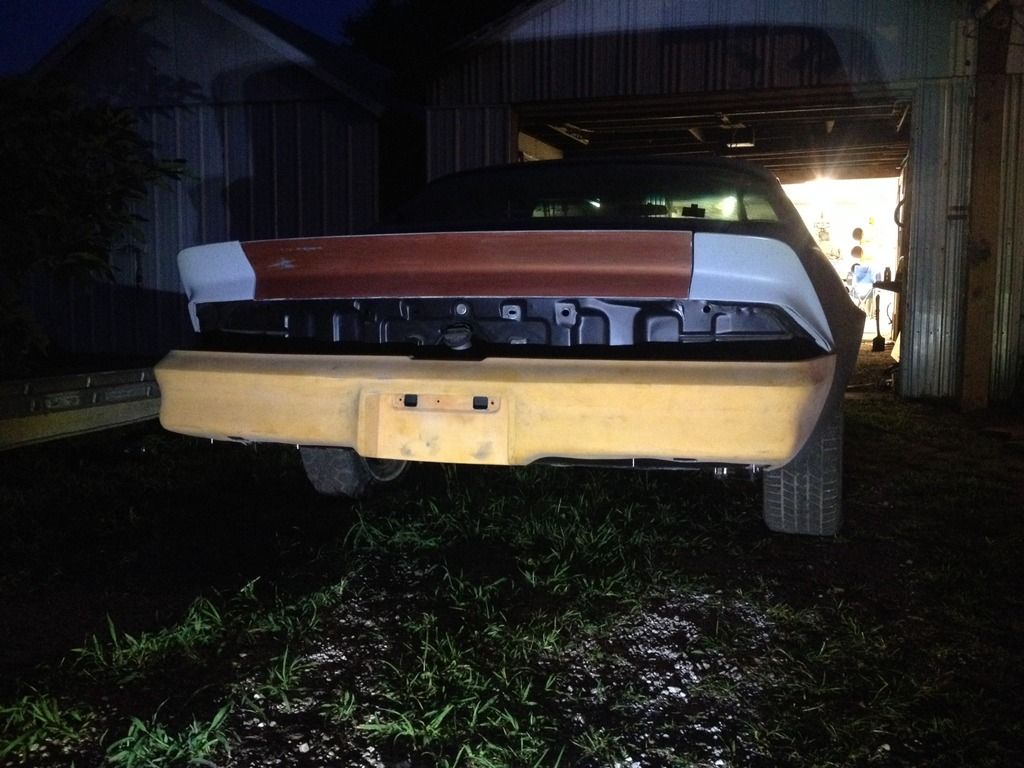
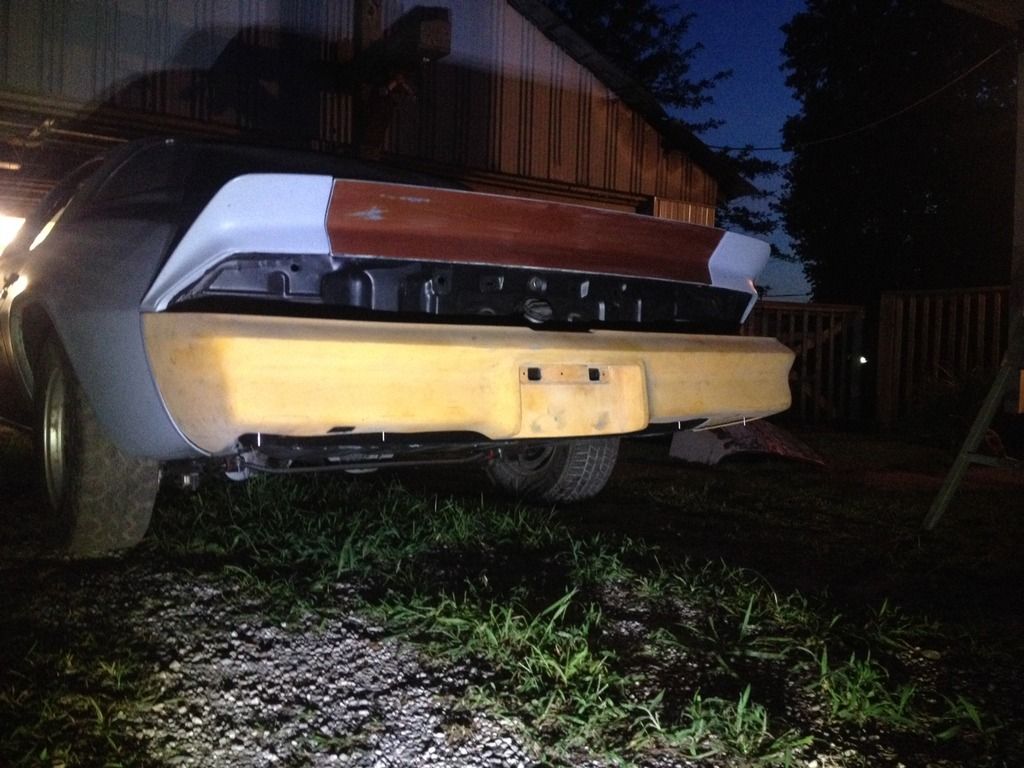
Swapped out rear bumper covers to see the overall fit. Honestly this new bumper is alot less warped at the bottom. I still want to figure out a way to fix some of the sway at the bottom.


I have pretty much got the center flare taken care of also. This weekend is a big swap meet Im going to see if I can find some parts for the Z. Id like to find another Z hood, some 4th gen seats and maybe a 650 Holley Carb. More updates and pictures to come.
 

Jas0n

Veteran Member
Lifetime Gold Member
Apr 27, 2010
1,044
Verona, ITALY
Now that I look closely, I don' see the holes in the quarter panel for the retainers of the rear bumper (I don't know how those are called..)

like this >>
s-l225.jpg


maybe I'm wrong?
 
Top