Coil Wire Identification

  • Thread starter Dave Hood
  • Start date
  • This site may earn a commission from merchant affiliate links like Ebay, Amazon, and others.

Dave Hood

Member
Sep 29, 2021
82
Hi guys,

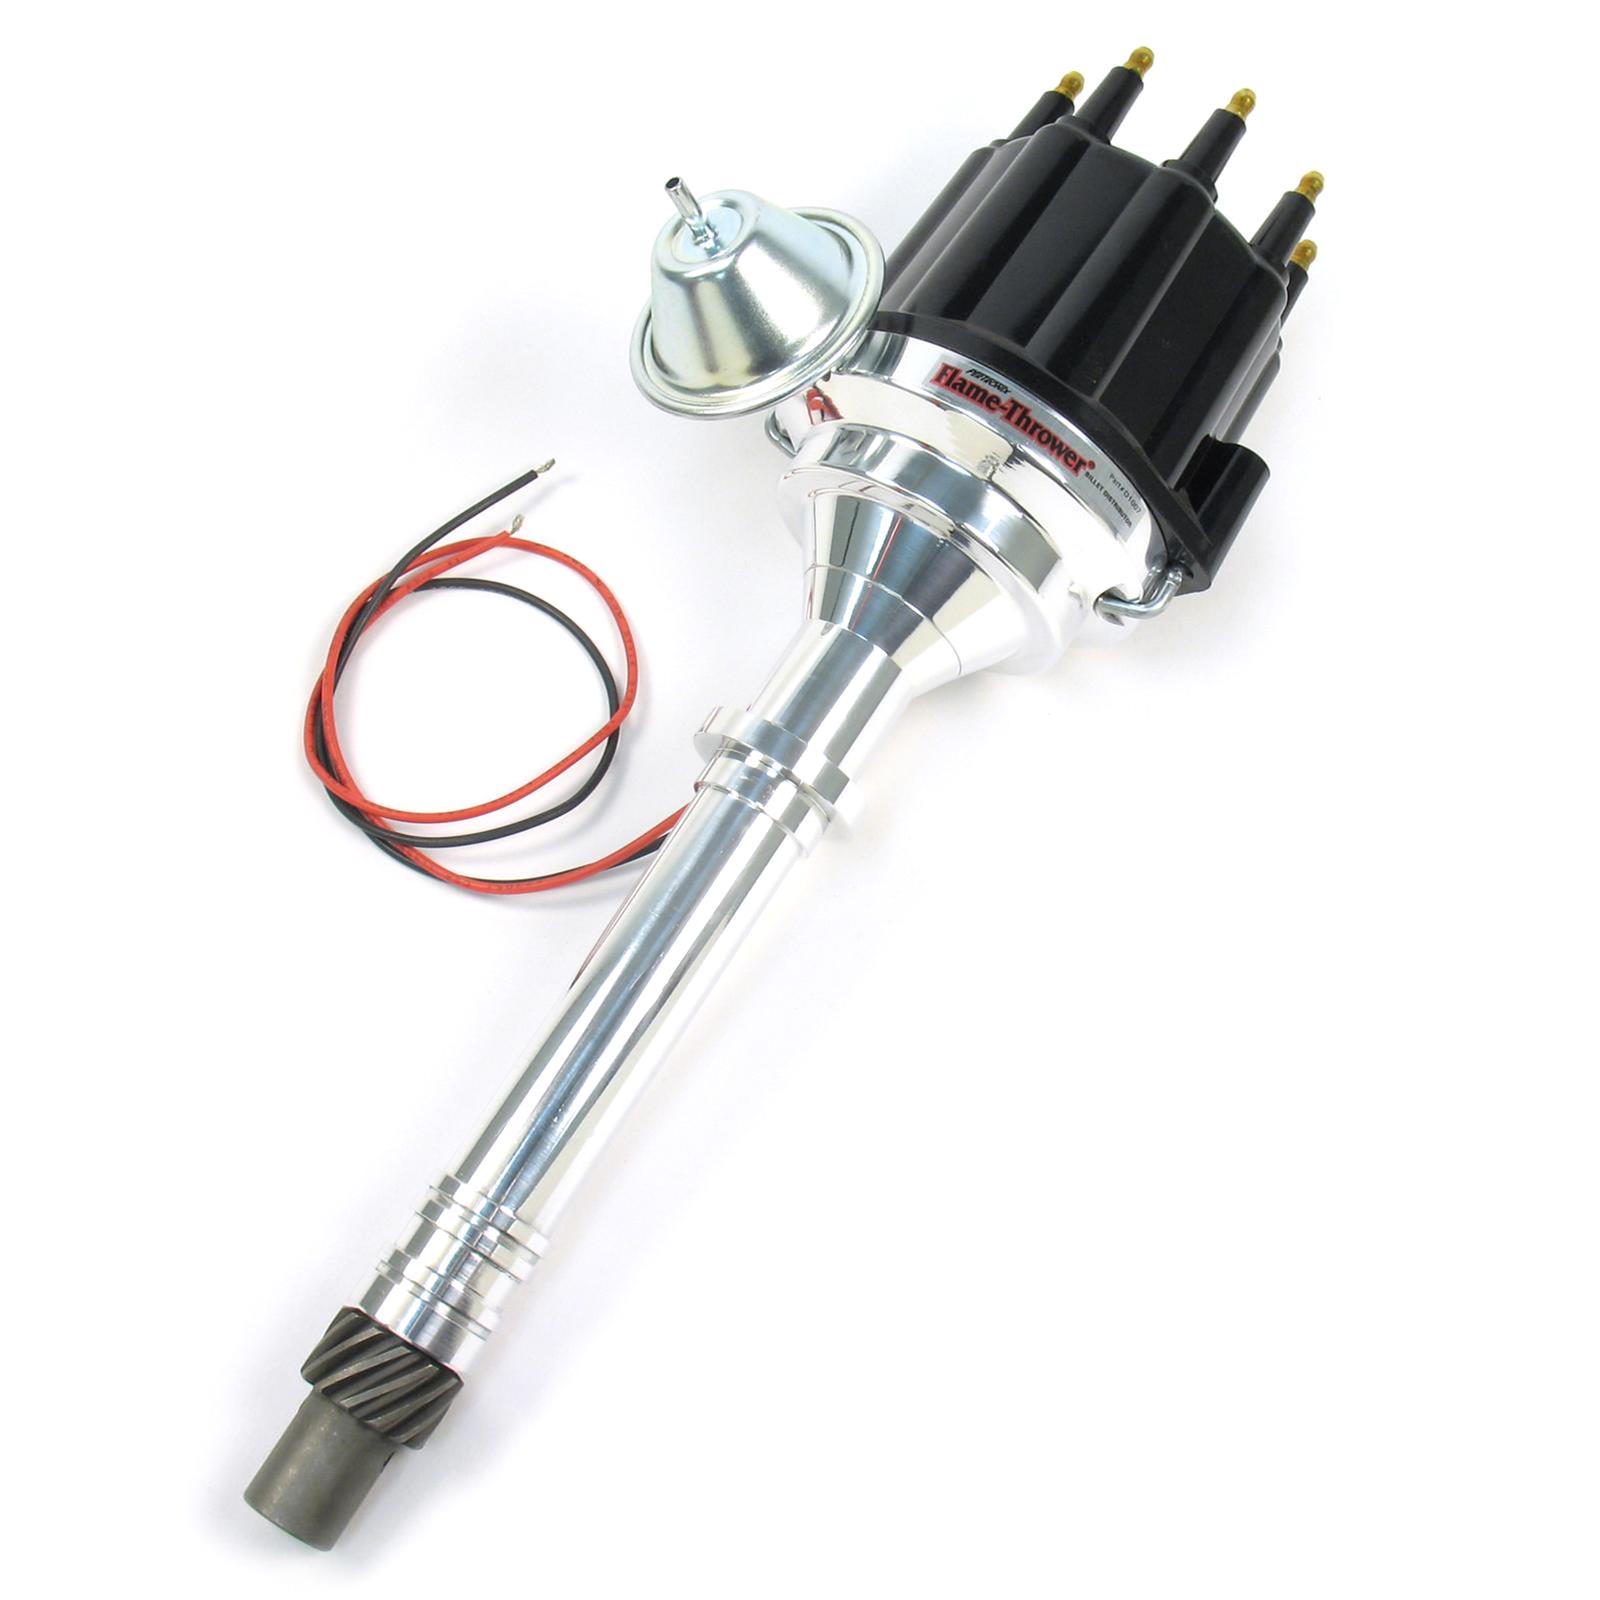
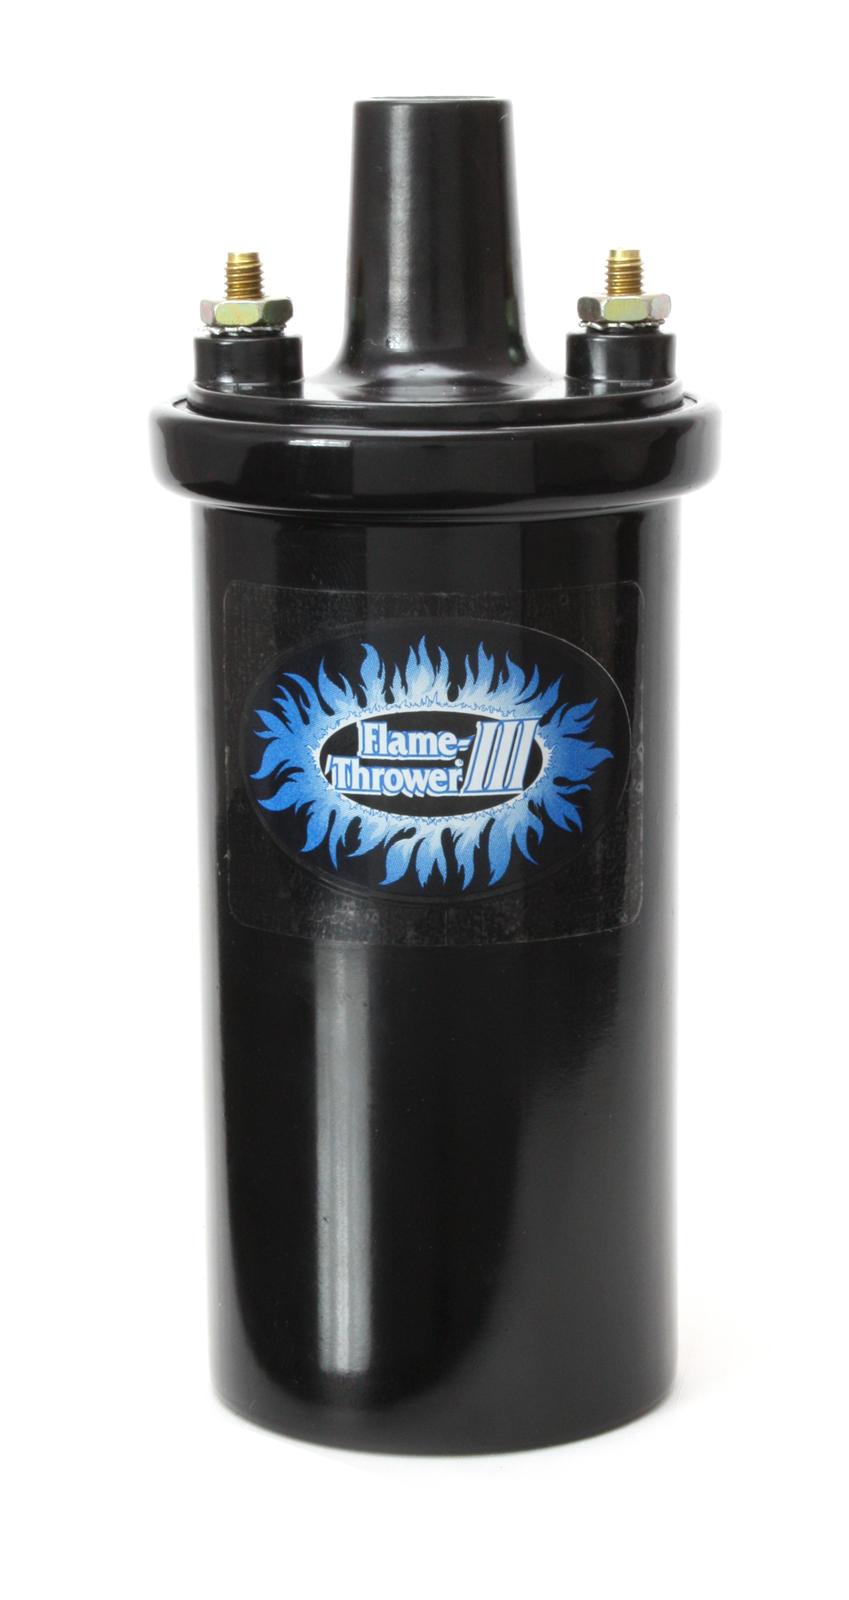
I’m replacing my distributor with a new Pertronix distributor. I’m also adding a new coil. I have 2 questions.

1. What are the wires that are currently attached to the coil?

2. Since I’m adding a new modern distributor do I need the condenser that’s attached to the bottom of the coil. Not sure that’s it name.

Any suggestion you have about me changing it over are appreciated. Thanks

Dave
 

Attachments

  • IMG_1824.png
    IMG_1824.png
    1.2 MB · Views: 39

suds788

Veteran Member
Dec 26, 2018
309
Fort Morgan, CO
The red & yellow wire tied together on the (Pos side) red is a resistance wire to your ignition - the yellow is to the starter (delivers full 12V when starting). Should be a primary wire from Distributor to (Neg side) can't tell from pic where it's coming from but usually the primary wire is black. If that is a brown wire it should be to your tack if your car is so equipped (or it's your primary from distrib). That condenser is a suppression condenser and it takes the static noise out of the system like for your radio and depending what you new distributor calls for yes you need it. You didn't say if you're going back with points or HEI I'm assuming points.
 

Dave Hood

Member
Sep 29, 2021
82
So all the wires should stay? This is what I’m installing.


Anything else I need to know please let me know. Thanks.
 
This site may earn a commission from merchant affiliate links like Ebay, Amazon, and others.

Ken70

Veteran Member
Jul 14, 2018
263
You should remove that resistance wire and replace with a 12 gauge one for a full 12 volt source . I removed mine from the firewall connector but if you can’t do that just grab a 12 volt with key on source from fuse box to insure a full solid 12volt to the coil.
 

Ken70

Veteran Member
Jul 14, 2018
263
Here you are sorry for the tech issues
 

Attachments

  • IMG_5398.jpeg
    IMG_5398.jpeg
    221.4 KB · Views: 21
  • IMG_5397.jpeg
    IMG_5397.jpeg
    304.7 KB · Views: 19
  • IMG_5394.jpeg
    IMG_5394.jpeg
    209.1 KB · Views: 19
  • IMG_5395.jpeg
    IMG_5395.jpeg
    181 KB · Views: 17
  • IMG_5396.jpeg
    IMG_5396.jpeg
    315.3 KB · Views: 17
  • IMG_5393.jpeg
    IMG_5393.jpeg
    362.9 KB · Views: 24

Ken70

Veteran Member
Jul 14, 2018
263
Irised this terminal and soldered a yellow 12 gauge wire on : ran it to the positive side of coil. My coil
Is a lil bigger but same idea
 

Attachments

  • IMG_5401.jpeg
    IMG_5401.jpeg
    186.3 KB · Views: 15
  • IMG_2248.png
    IMG_2248.png
    243.2 KB · Views: 15
  • IMG_2250.jpeg
    IMG_2250.jpeg
    144.3 KB · Views: 16
Top