1970 Z28 - Freedom Express - Take Two!

  • Thread starter FlaJunkie
  • Start date
  • This site may earn a commission from merchant affiliate links like Ebay, Amazon, and others.

jr2226nhra

New Member
Sep 10, 2009
17
fla
FlaJunkie said:
Soda. I paid a local guy to bring his equipment here to do the job in front of the garage. Neighbors were not too happy with me.

I shocked a lot of body guys here by power washing the body afterwards. Then I used a leaf blower and compressed air to dry it off immediately.

If you do this, I'd put the body on a rotisserie and take it away from places with people before soda blasting.
i would like to get his #i am port orange . and interested in using him .how are his prices?
 

FlaJunkie

Veteran Member
Lifetime Gold Member
Mar 24, 2001
6,552
Rockledge, Florida
jr2226nhra said:
i would like to get his #i am port orange . and interested in using him .how are his prices?
Lemmee find his name and I'll get it to you. I paid him $1000 to completely blast the body shell and a lot of the other sheet-metal parts...doors. Plus rear axle.
 
This site may earn a commission from merchant affiliate links like Ebay, Amazon, and others.

FlaJunkie

Veteran Member
Lifetime Gold Member
Mar 24, 2001
6,552
Rockledge, Florida
Update 3 Mar 2011

More cleaning and painting...

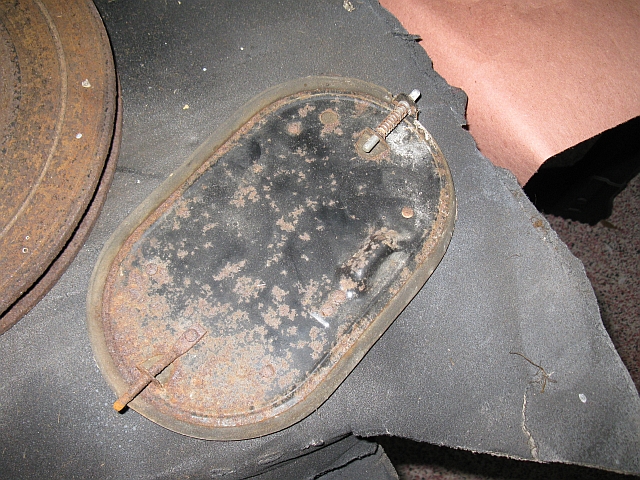
Before:
PicBP1s.jpg


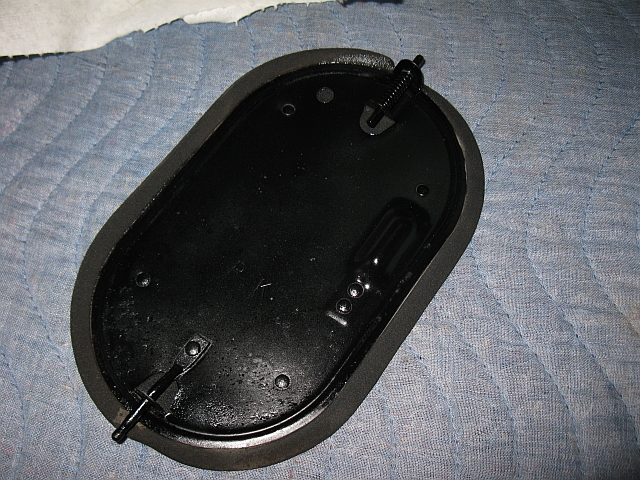
After:
Z28_036s.jpg


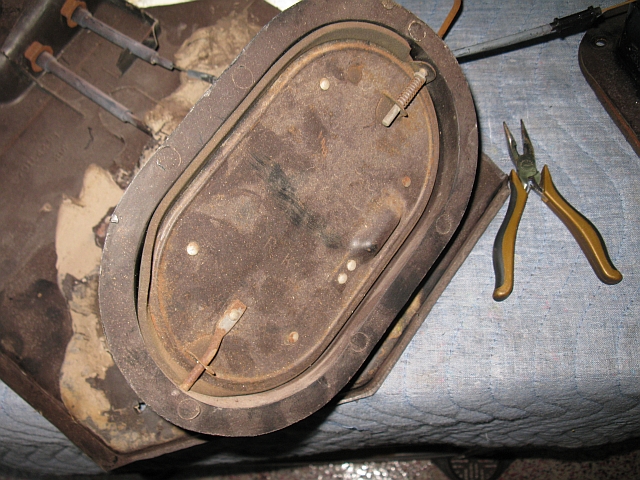
I GUARANTEE if you have never done anything to your 1970, THIS is what the vent valve looks like as it corrodes away!

Passenger kick panel vent valve before:
Z28_029s.jpg


After:
Z28_037s.jpg


More details on my website... My1970Z28.com
 

FlaJunkie

Veteran Member
Lifetime Gold Member
Mar 24, 2001
6,552
Rockledge, Florida
Update 14 March 2011

Done a LOT of work lately! These are a few pics to share...


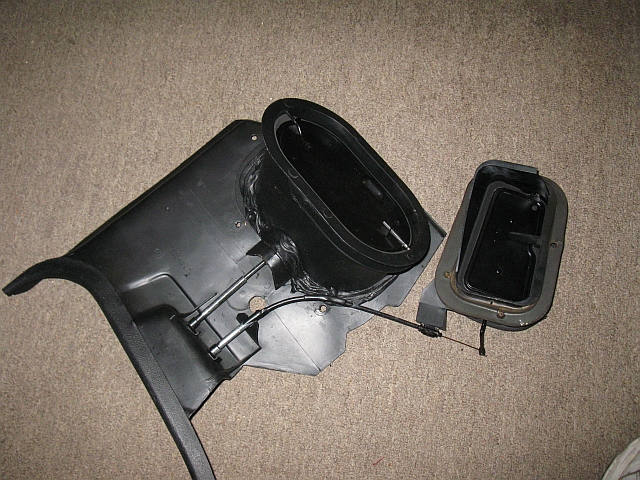
I re-used the kick panels...this is the passenger side before repair:
Z28_057s.jpg


...and this is the driver side after repair...
Z28_075s.jpg


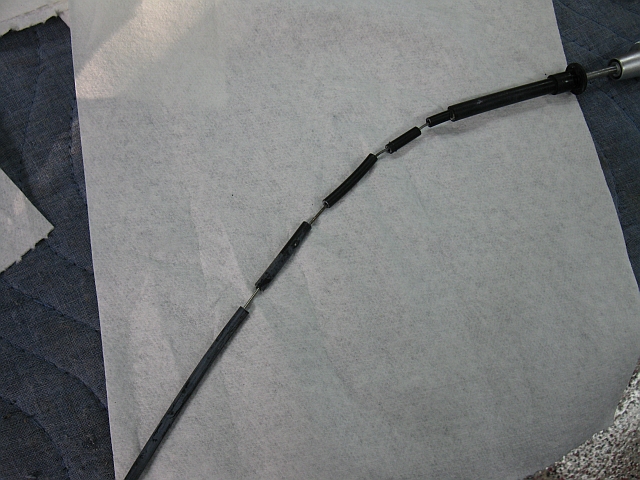
Remember how those little handle cables on the vents can crack?
Z28_097s.jpg


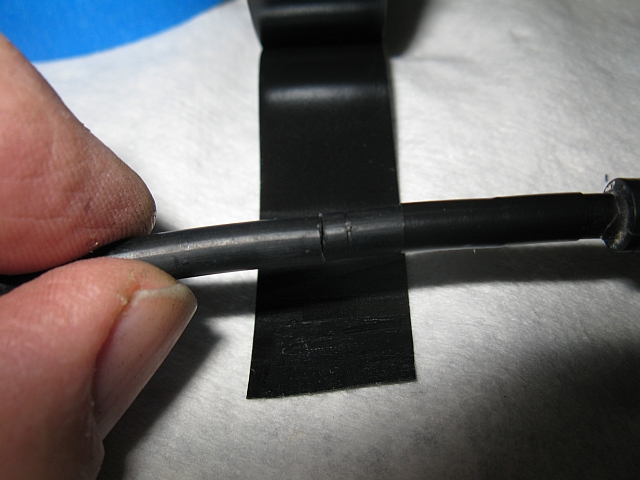
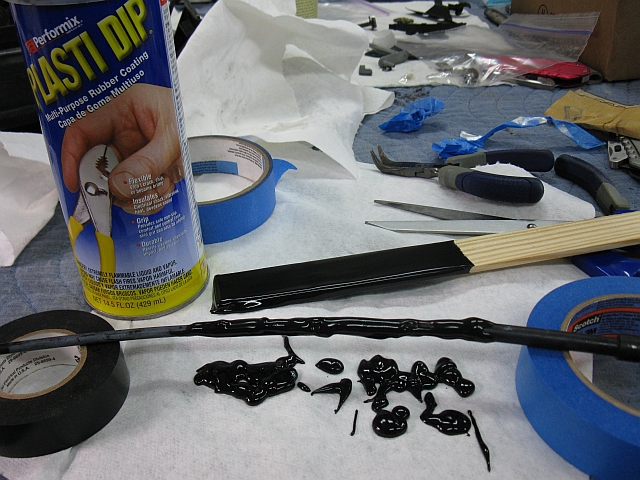
Well, this is how you fix them. First, clean them, then tape the crack together with some electrical tape...
Z28_098s.jpg


Then use some plasti-dip to cover the repair...it will not come loose!
Z28_100s.jpg


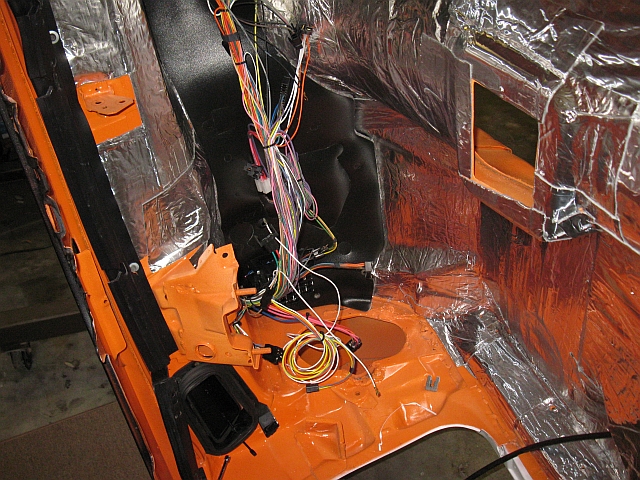
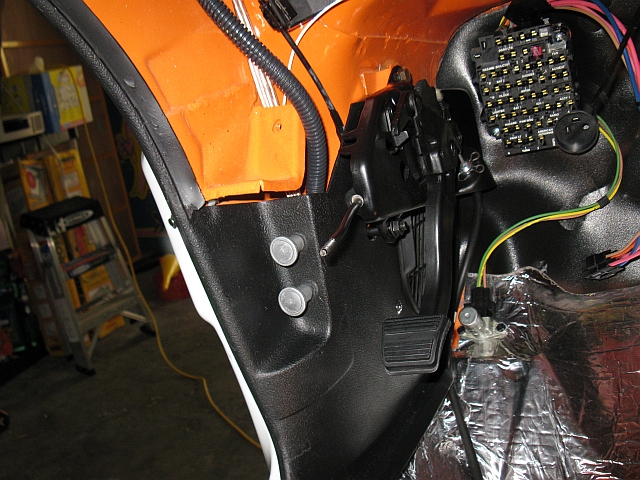
When reassembling the inside, first put in the upper cable run, the drivers side upper vent valve,
and the wiring clip. Also, install the front emergency brake cable into the floor. Install the new
fuse block, the cable to the door jamb and switch.
You can't put the far left screw in the cable tray above the vent at this time (maybe never!)
Z28_069s.jpg


The upper vent valve is out to show the rear harness and the rear speaker wire routing.
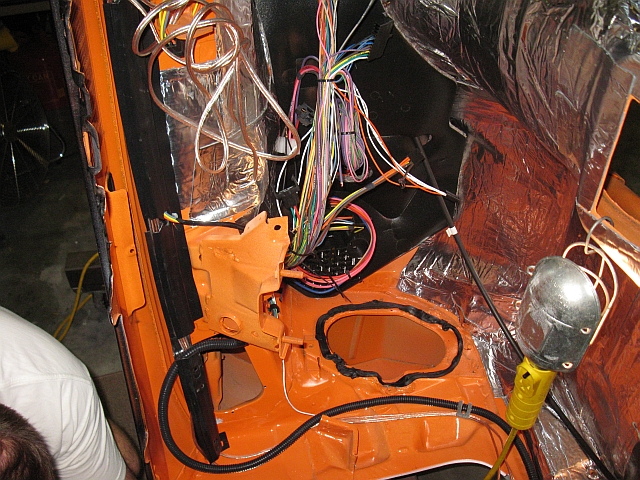
Install the conduit cover on the sill panel next (not shown) and
the two clamps on the emergency brake cable.
Z28_072s.jpg


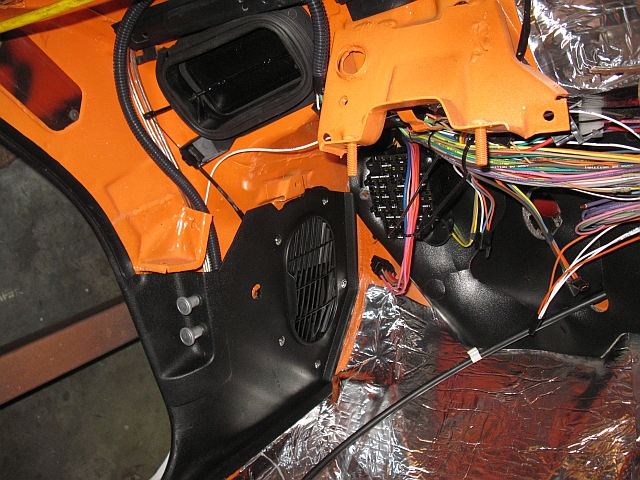
Kick panel installed...
Z28_080s.jpg


Emergency brake and dimmer switch installed. Note the modern fuse block...
Z28_090s.jpg
 
Top